A weed thrives on the ability to grow without inhibitions. Though perceived as unattractive, the weed showcases qualities much like a beautiful flower, but with the uncanny ability to multiply. An unmanicured garden, much like a forest, grows freely, wrapping around nearby trees and hanging off tall branches. Each individual plant interacts with its neighbors, ultimately creating a single entity of unrestricted growth and healthy culture.
Artistic ideas also thrive when allowed to grow freely. An idea becomes planted during the early stages of brainstorming. The “seed” of an idea slowly develops within the mind of an artist much like a seed germinates under rich soil. When ready, an idea sprouts and is shared for all to see, interact with and analyze.
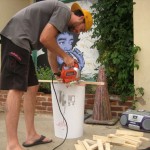 STEP1 Cut your frame sidebars. Choose wood as thin as possible, but thick enough to avoid bending. The size of your frame depends on your design. I usually work with an 11in. x 11in. setup. It’s a good idea to go bigger than too small. Make sure the cuts are straight and clean because an uneven frame may cause problems during future steps.
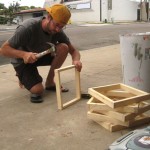 STEP2 Create your frame by hammering the sidebars together. Use small nails so to not split the thin wood. Large staples can be used, but nails tend to be easier. After nailed, twist your frame to correct any warps. A flat surface is important during STEP5. Sand edges if desired, but this in not really necessary. Choose flattest side for the mesh.
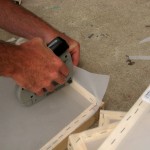 STEP3 Your frame is now ready for the mesh. Begin stapling on one side in the middle. Pull tight and work all the way to the edge. Go back to the middle and repeat in the opposite direction. Continue on opposite sidebar with same technique, then repeat on two remaining sides. Always pull tight when stapling. Tension is crucial!
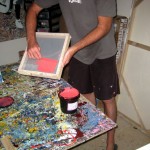 STEP4 Coat your screen with light sensitive emulsion. Completely cover the shirt side first with a thin layer. Do the same on the opposite side of the screen. Continue this pattern until there is minimal excess emulsion. Thick build ups cause problems when spraying. REMEMBER… this has to be done in the dark! Let dry in the dark t shirt side down with a fan.
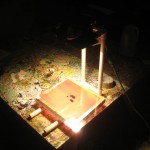 STEP 5 Place your color layer printed in solid black on a transparency on your screen. The shirt side of the screen faces up so flip your design upside down. Place a piece of glass over your transparency. Turn on the light. The amount of time exposed to light in crucial. Mine is 12mins. 30sec. The distance from light to screen is crucial too.
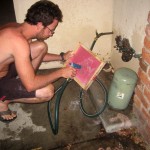 STEP6 Still in the dark, bring your screen to a water source with high pressure. Begin spraying your design. All areas exposed to light in STEP 5 will remain intact. Areas which were under black of transparency will remain soft. These areas spray out and result in your single layer design. Too much spray will make important edges soggy.
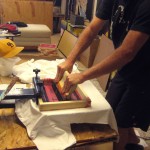 STEP 7 (VIDEO) Attach your frame with burned and sprayed image to your press. Make sure to tighten because any movement of the screen will cause problems. Pull paint across the screen’s design onto your shirt. Try to avoid multiple passes over a t shirt. Pull up press and dry paint with a heat gun. Continue this precess with each color layer.
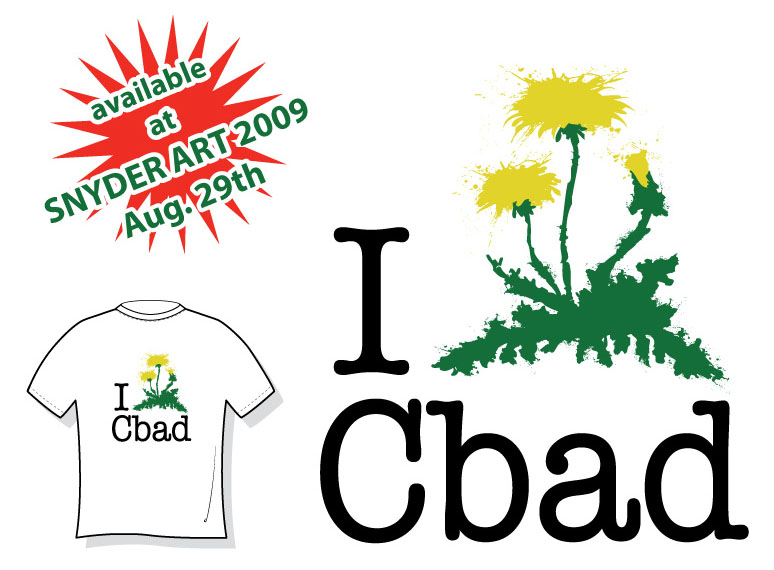
New carlsbadcrawl t shirts available at SNYDER ART 2009: Aug. 29th
Also available: limited edition screen prints on paper





Recent Comments