Street Chalking Made Easy
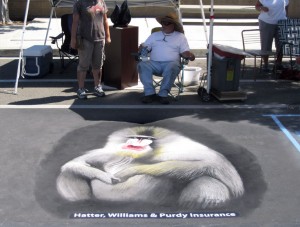 1. Select an image. Many chalk artist choose to reproduce pieces by past masters, but feel free to recreate an original. Print out the chosen piece. Draw a grid over the piece in a series of evenly distributed vertical and horizontal lines. Label the vertical lines with numbers and the horizontal with letters.
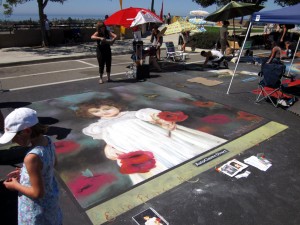 2. Choose a flat surface and sweep it clean. Measure off the border of your design and mask it off with tape. This tape will later be removed leaving a crisp border edge. Remember, your design on the ground will be larger than the printed version, yet the proportions will be the same. Those uncomfortable with scaling up an image may want to begin with a square border.
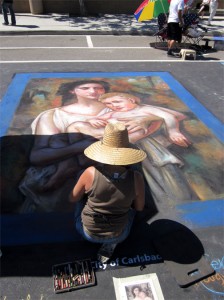 3. Your grid will also have to be adjusted to correspond with the increased scale. Calculate the distance from each grid mark and label them on the border of the design. A good ratio to work with is a 6 inch square on the pavement for every 1/2 inch square on the paper. Lightly connect the corresponding grid labels on the vertical axis, then repeat for the horizontal axis. This will result in evenly spaced columns and rows.
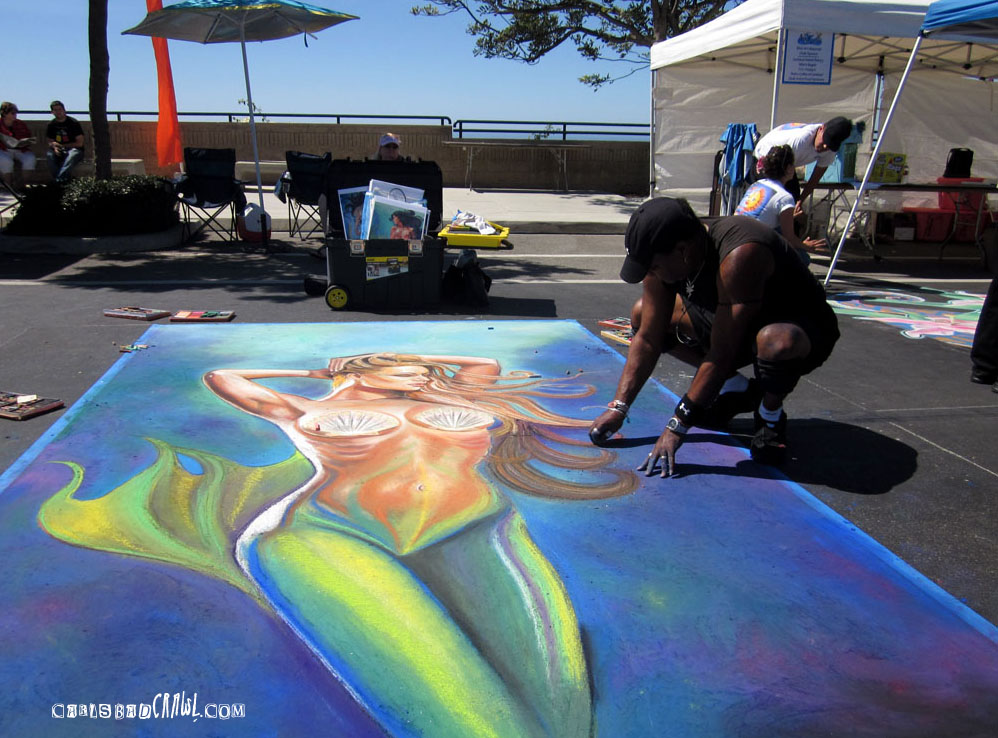
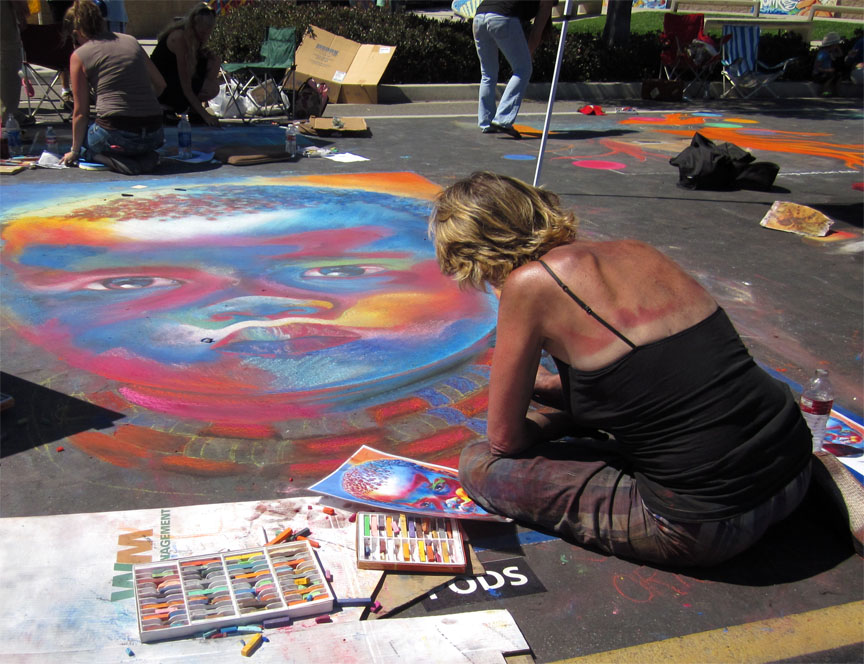
 4. Use your gridded guidelines to lightly sketch in the contours of your design. These lines don’t have to be exact and later will be perfected. Remember to use the grid with almost every line. Think of every gridded square as a separate individual composition. Once your contour lines are finished, begin to fill with color. Blend colors using your finger. Larger areas can be blended with a chalkboard eraser. Begin with medium shades and slowly add shadows and highlights to render the round elements of your design.
5. Remove masking tape from around the border, sign and snap a photo!
Send your designs to theartist@carlsbadcrawl.com!



Recent Comments