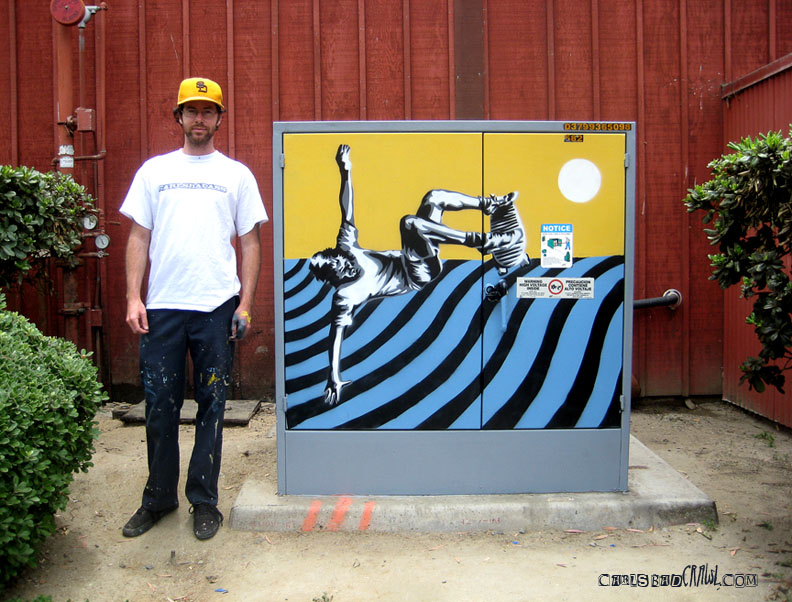
Stencils have been used for many years and in all occasions. They have created letters to teach kids the ABCs and slogans to express political beliefs. They have been used on roads to alert drivers and on walls for murals. Paint is either sprayed, rolled or dabbed through hand cut designs in paper or cardboard, resulting in crisp lines and, for the most part, solid colors. Stencil preparation varies depending on complexity and size, but the overall strategy is to think in terms of layers.
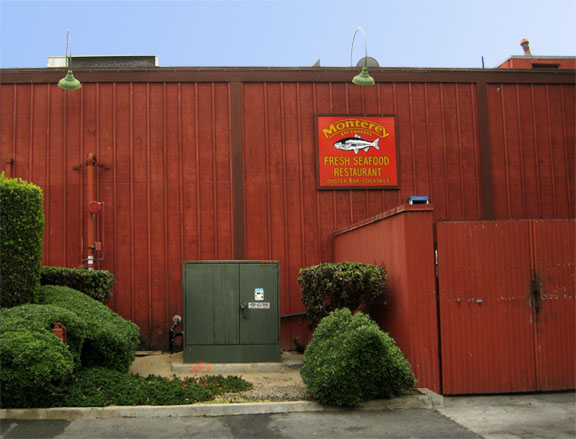 1. Decide on the purpose of your piece. Is there a message in your work? Is it purely a visual experience? Your location is just as important as your finished design. Remember that a successful piece not only looks good, but also forms a relationship with its environment. Keep in mind surrounding colors and historical significance.
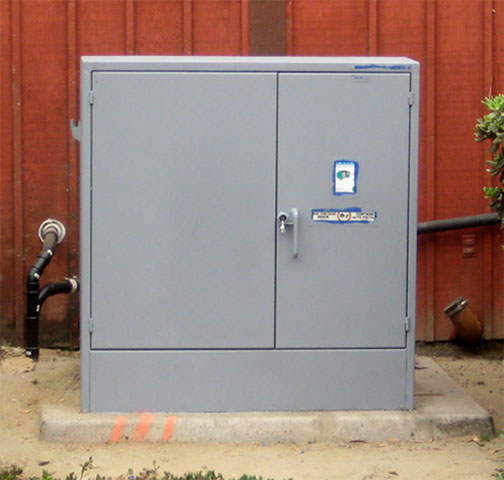 2. Choose a surface with minimal interference. Abrasions or protrusions will result in gaps between the stencil resulting is bleeding paint and under spray. Identify handles, stickers and knobs and make measurements accordingly. You will have to keep this in mind when designing your stencil. If possible, implement these into your design!
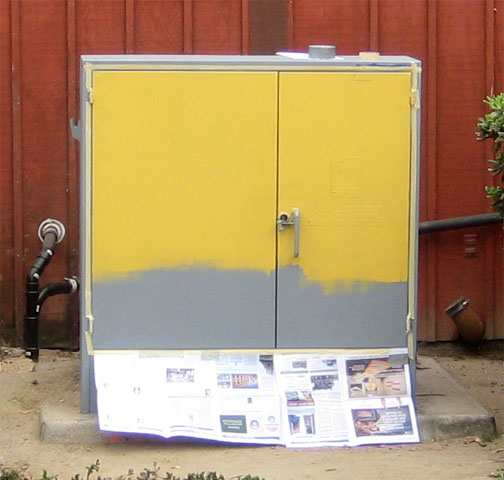 3. At this time you should have already dissected your design into layers. Start with you backgrounds. A roller works well and produces even coats. Apply a series of thin coats to minimize drying time. It is important to let paint dry completely. Stencil material will stick to wet paint and will peel off while releasing stencil.
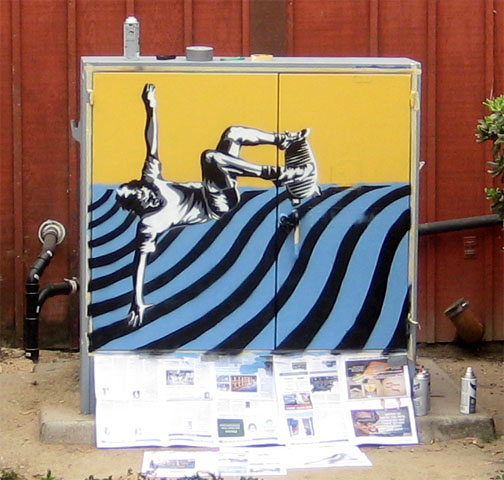
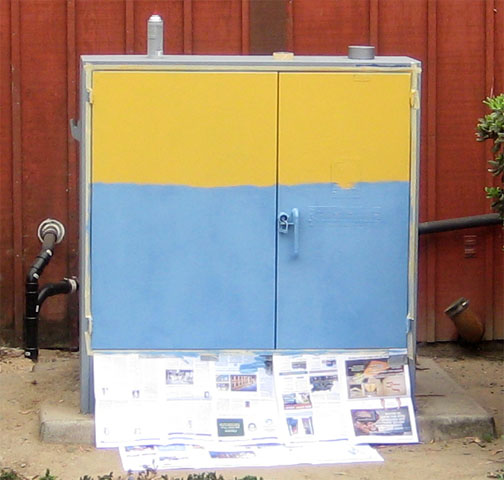 4. Backgrounds usually don’t require stencils which is desirable when conserving materials. Feel free to divide your design when appropriate. Roll the paint, acrylic latex works fine, and touch up edges with a brush. In this example and in a later stage, orange paint will be brought across the top of the blue to create a smooth edge.
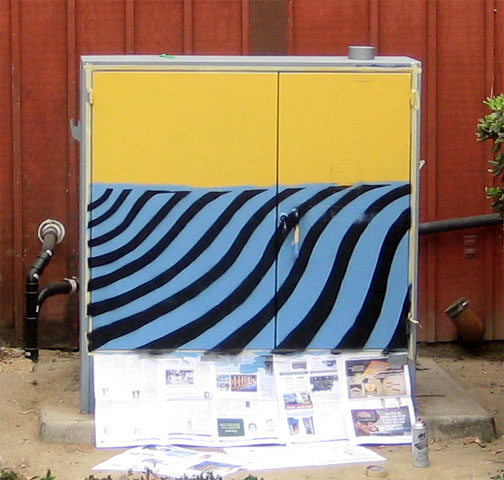 5. Implement your first stencil when necessary. Keep in mind color contrast. This stencil creates the illusion of a curved surface while establishing a perspective. Black spray paint towards a matte finished is used. Gloss spray paint tends to take longer to dry. Undesirable spray can be fixed with acrylic latex during later touch ups.
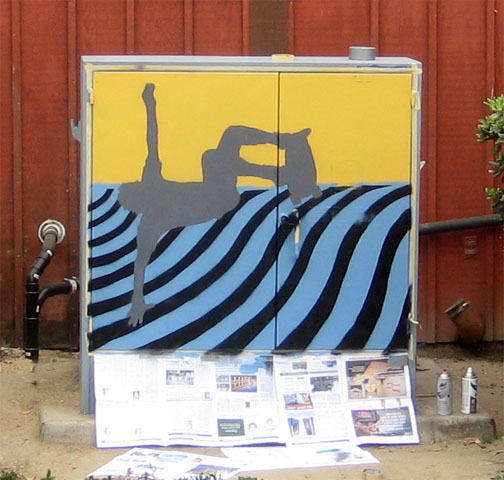
6. When ready, begin the application of your top image. A nicely rendered image can be produced in three colors. Break an image down to mid tones, shadows and highlights. Begin with your mid tones, which will also be a silhouette of your image. Tape your stencil firmly and always spray – stencil to cut to – eliminate under spray.
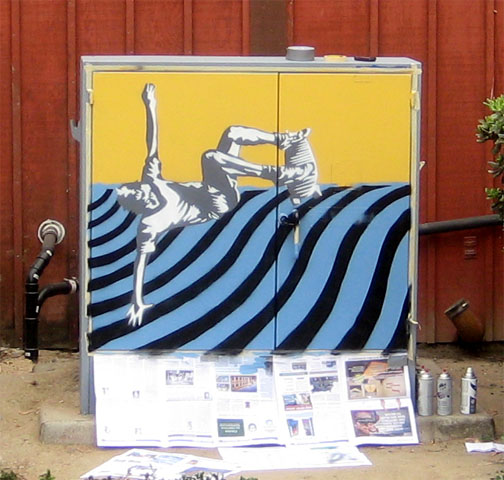
7. Your highlights will come next. Registration is crucial. Clear acetate works well when aligning your stencil on a design, but is more expensive. When using paper/ cardboard, cut quarter size holes in the corners of your stencil. Lightly trace them onto your background. Line up each registration circle to these traced marks. This will ensure successful registration.
8. Black is your last layer and will bring life into even the most subtle design. Again, use your registration circle cuts to align correctly. Spray as you did previously, stencil to cut. Spray lightly to prevent drips. If necessary, spray multiple coats until all shadows are solid. When releasing stencil, remember to prevent stencil from dragging over wet paint.
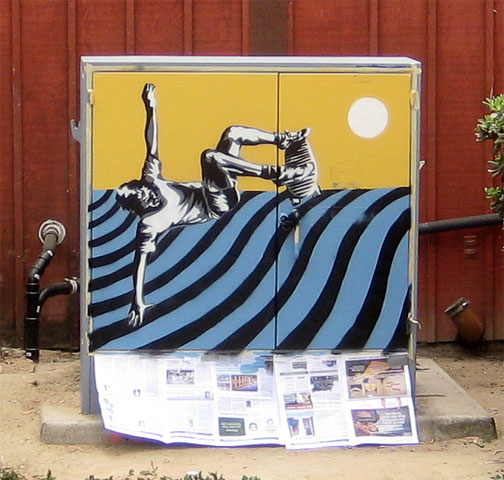
9. Make sure to think each design out thoroughly. Materials can be saved and costly errors can be avoided when planned properly. All final touch ups are made using background acrylic latex. Cover up “loose” sprays and clean “shaky” lines. Spray painted sections are rarely fixed successfully without redoing layer completely.
Although anyone can apply paint to a surface, a keen eye is necessary during the preparation stage of your design. A rendered shape must first be illustrated. The highlights and shadows must then be extracted and carefully arranged in a way that maintains the image, but also results in a functioning stencil. With a firm understanding of a balanced composition, a design is then ready to be applied.
To schedule a lesson on design preparation for stencils, Email theartist@snyderartdesign.com. Lessons are now being scheduled and take place at Snyder Art in the Carlsbad Village.
Click HERE for the above design’s location!


Recent Comments