As an artist, the easy part is coming up with the idea. The tough part, though always fun, is carrying it out. As a kid, the medium was always the same… pencil on paper. As I have grown, my projects have become larger and more wide spread.
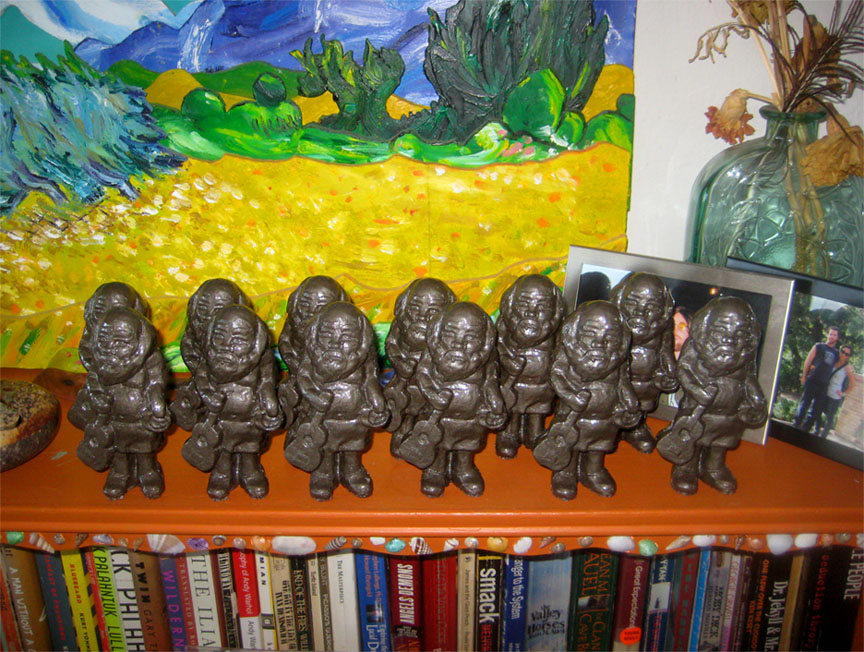
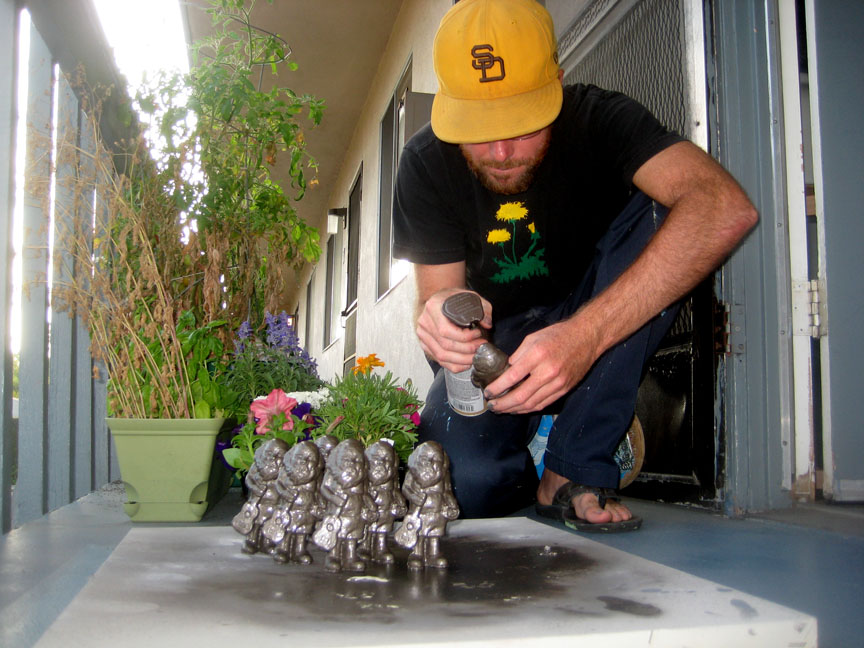
The below steps briefly describes the process of sculpting, silicone mold making and resin casting for small figurines. Use the steps as a rough guide and carry out further research elsewhere. This was my first attempt at making an army…
 Model your clay sculpture into your desired shape. A variety of tools are available at your local arts and crafts store. I chose to work with non hardening Chavant Clay because of the option to work a piece at a time over a long period without drying. This may cause a slight problem during the later stage, but the freedom of working without time limits is a plus.
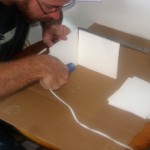 A sturdy box will have to be constructed to house your clay sculpture. Cut four walls out of poster board and hot glue each piece to cardboard. Make the house large enough to hold your piece, but remember the larger your house the more materials you will need. Make sure all seems are leak proof, but try not to glue too much. These pieces will be removed later.
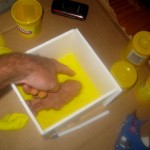 Fill the bottom of the housing with something that your sculpture can sink into. I choose Play Doh to prevent damaging the bottom half of my non hard and easily altered sculpture. Play Doh is slightly messy, but it won’t change your sculpture’s shape. They side under the surface of the clay will be your second silicone pour, your first being the current exposed side. Make sure the bottom of sculpture is against one side. This will create the hole in the mold which you will pour your resin into.
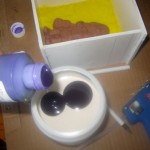 Mix your “potions” for your silicone mold. Stir thoroughly because any inconsistencies may cause problematic air pockets in your mold. This pour has a 1:10 ratio. Remember that anything you mix at this stage will dry on your sculpture or in the sealed container. Pour wisely and thoroughly because these supplies aren’t cheap.
![]() Pour your mixed silicone into your housing. Any excess silicone will harden. Avoid pouring directly onto your sculpture. Pouring directly onto sculpture will increases the chance of dreadful air pockets. Pour directly into corners of housing and let silicone slowly “roll” onto and over sculpture. Let silicone completely cover your sculpture.
Pour your mixed silicone into your housing. Any excess silicone will harden. Avoid pouring directly onto your sculpture. Pouring directly onto sculpture will increases the chance of dreadful air pockets. Pour directly into corners of housing and let silicone slowly “roll” onto and over sculpture. Let silicone completely cover your sculpture.
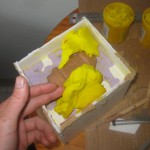 When dry (drying time depends on your product) flip housing over and remove the Play Doh or clay. This will expose the under side of the sculpture. Play Doh becomes a problem at this point because it is difficult to remove. I used sculpting tools to remove each piece of Play Dog. Any pieces left of your sculpture will result in errors in your resin.
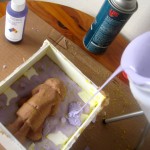 Pour another silicone mixture onto the newly exposed side keeping in mind that you want your pour to land in a corner of your housing and “roll” onto your shape. Any trapped air will result in undesirable results in your finished resin sculptures. Adjust your pouring speed and quantity depending on the area the silicone is rolling over.
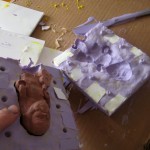 When dry, remove the housing walls and separate the two dry silicone mold pieces. Notice the holes around the clay sculpture and the fitting male protrusions of the other half. These guarantee exact registration for later steps. Remove your clay sculpture. Your sculpture may be damaged and you may want to fix them for archiving reasons.
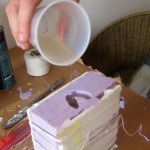 Fit the two halves back together. Use tight rubber bands to guarantee a tight fitting. Mix your product and pour into the silicone mold. The products I choose were a simple 1:1 mix. The resin will chemically react and increase in temperature. I had 180 seconds to mix and pour into silicone mold before it started hardening. Fill to brim and let dry.
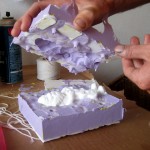 When dry, remove rubber bands and release the two halves of the silicone mold. Be careful not to damage any edges. The resin cast may still be hot so test the temperature first. Remove the resin cast and check for leaked pieces. These pieces can easily be removed or sanded down. Let your resin cast coll down and repeat the above steps for as long as materials last.
Click HERE for the silicone I used and HERE for the resin!
5 inch Same ‘Ol sculptures available at Snyder Art 2009: Aug. 29th only.
Thanks David Lozeau for all the advice




Yes I am taking one home.